 Personalisation of any kind can transform a run of the mill house into a cherished home. Whether it is printing burlap or printing large wall posters, the effect of something unique can be quite irresistible. However, nothing turns a building into a home better than a welcoming wooden sign.
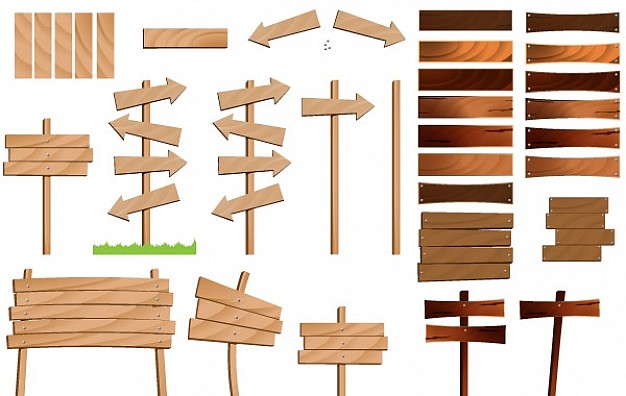
A wood sign in from of your house’s main entrance can add that old world charm to your abode. More importantly, it will make the house feel more homely too.
If you want such an element in front of your home, the best option you have is to print wood signs because the alternatives aren’t that attractive.
Why You Need To Print Wood Signs
 First and foremost, you need to realise that readymade wood signs are becoming harder to find in a world that is quickly becoming modernised.
The majority of signs, these days, are ceramic, metal, or plastic. So, finding wood signs can be difficult. Even if you find wood signs, you’ll have to accept generic designs and messages. What’s worse is that readymade wood signs are not as welcoming or charming as wood signs that have a personalised message.
Generic welcome wood signs are too simple to inspire any special affection for the home. This is why you need to print wood signs of your own. It isn’t even that difficult so long as you know how to do it. Here is a step by step guide that will help you print wood signs with minimal hassle and fuss.
Step 1: Pick the Right Piece of Wood and Prepare It
The first thing you need to is pick the right piece of wood. You need to make sure that the wood is not layered with something that will block the transfer of ink. At the same time, the wood needs to be fairly smooth because any kind of roughness or warping will make it look bad.
So, it might be a good idea to consider preparing the wood by sanding it. Furthermore, if you have a particular look in mind like ancient then you may want to distress it.
Step 2: Choose What You Want On the Wood and Design It
Wood signs look best with simple messages and symbols. However, what you want when you print wood signs is up to you entirely. The second step involves preparing the message or design on a software programme.
You can use any type of software programme ranging from Photoshop to Illustrator. Try to keep the design simple and short. Think of it like this, the more elaborate your design will be, the more effort you’ll have to put into the whole transfer process.
Step 3: Print the Design onto a Normal Paper Backwards
Now, you can print your design onto normal printing paper. This step is incredibly simple except for one thing. You have to make sure that the print is backwards. This print will be transferred from the paper onto the wood sign. If you print your design forward and then transfer it onto the wood, the transference will result in a backward reading wood sign.
Step 4: Transfer the Print onto the Wood Sign
You’ll need some tape to print wood signs as well. This step begins with you taping the printed paper onto the wood so that it doesn’t move during transference. Once taped, you need to brush a little bit of water onto the paper.
This will make the ink run a little and make transference easier. Now, you can take a blunt object like a pen and gradually rub it over the back of the paper. The idea is to transfer the ink on the paper onto the wood by rubbing it gently.
Your project to print wood signs is now complete. If the letters haven’t transferred clearly enough, you can repeat the process. If the transferred message is smudged, you could have put too much water or too much pressure during this process.
What Kind Of Paper Do You Use To Transfer Pictures To Wood?
To transfer pictures to wood, you will need to use a specific type of paper known as wax paper or freezer paper. Wax paper is translucent paper with a thin layer of wax on one side, which allows the ink from an inkjet printer to transfer to the wood surface.
Freezer paper, on the other hand, has a wax or plastic coating on one side and a paper coating on the other, making it ideal for transferring images to wood.
Hence, both types of paper are widely available and can be used to transfer images onto wood using a few simple techniques.
Tips to Print Wood Signs With Your Inkjet Printer
Here are some tips to print wood signs with your inkjet printer:
- Flat and smooth wood works best for printing. Avoid rough or textured surfaces.
- Use high-quality images and adjust the size of your image and wood as needed.
- Use an inkjet printer and print onto wax or freezer paper.
- Transfer medium such as Mod Podge is a more reliable option to transfer the image onto the wood.
- Use a card such as a credit or any similar object to remove any bubbles or wrinkles in the paper on the wood.
- Apply a clear sealer such as tape to protect the transferred image and the wood surface.
Can You Transfer A Regular Photo To Wood?
Yes, it is possible to transfer a regular photo to wood using a few simple techniques. One method involves printing the photo onto wax paper using an inkjet printer and then transferring the image onto the wood using a transfer medium such as Mod Podge. Another method involves using a gel medium to transfer the photo directly onto the wood surface.
Both methods require some patience and skill but can produce beautiful, one-of-a-kind results that preserve the look and feel of the original photo. However, it is important to note that the quality of the transfer will depend on the quality of the original photo, so it is best to use a high-resolution image for the best results.
Leave a Reply